DentalHue sets the standard for teeth whitening with custom trays and clinically proven methods.
Here we explain how DentalHue was designed and guide you through the process to achieve real, long-lasting results.
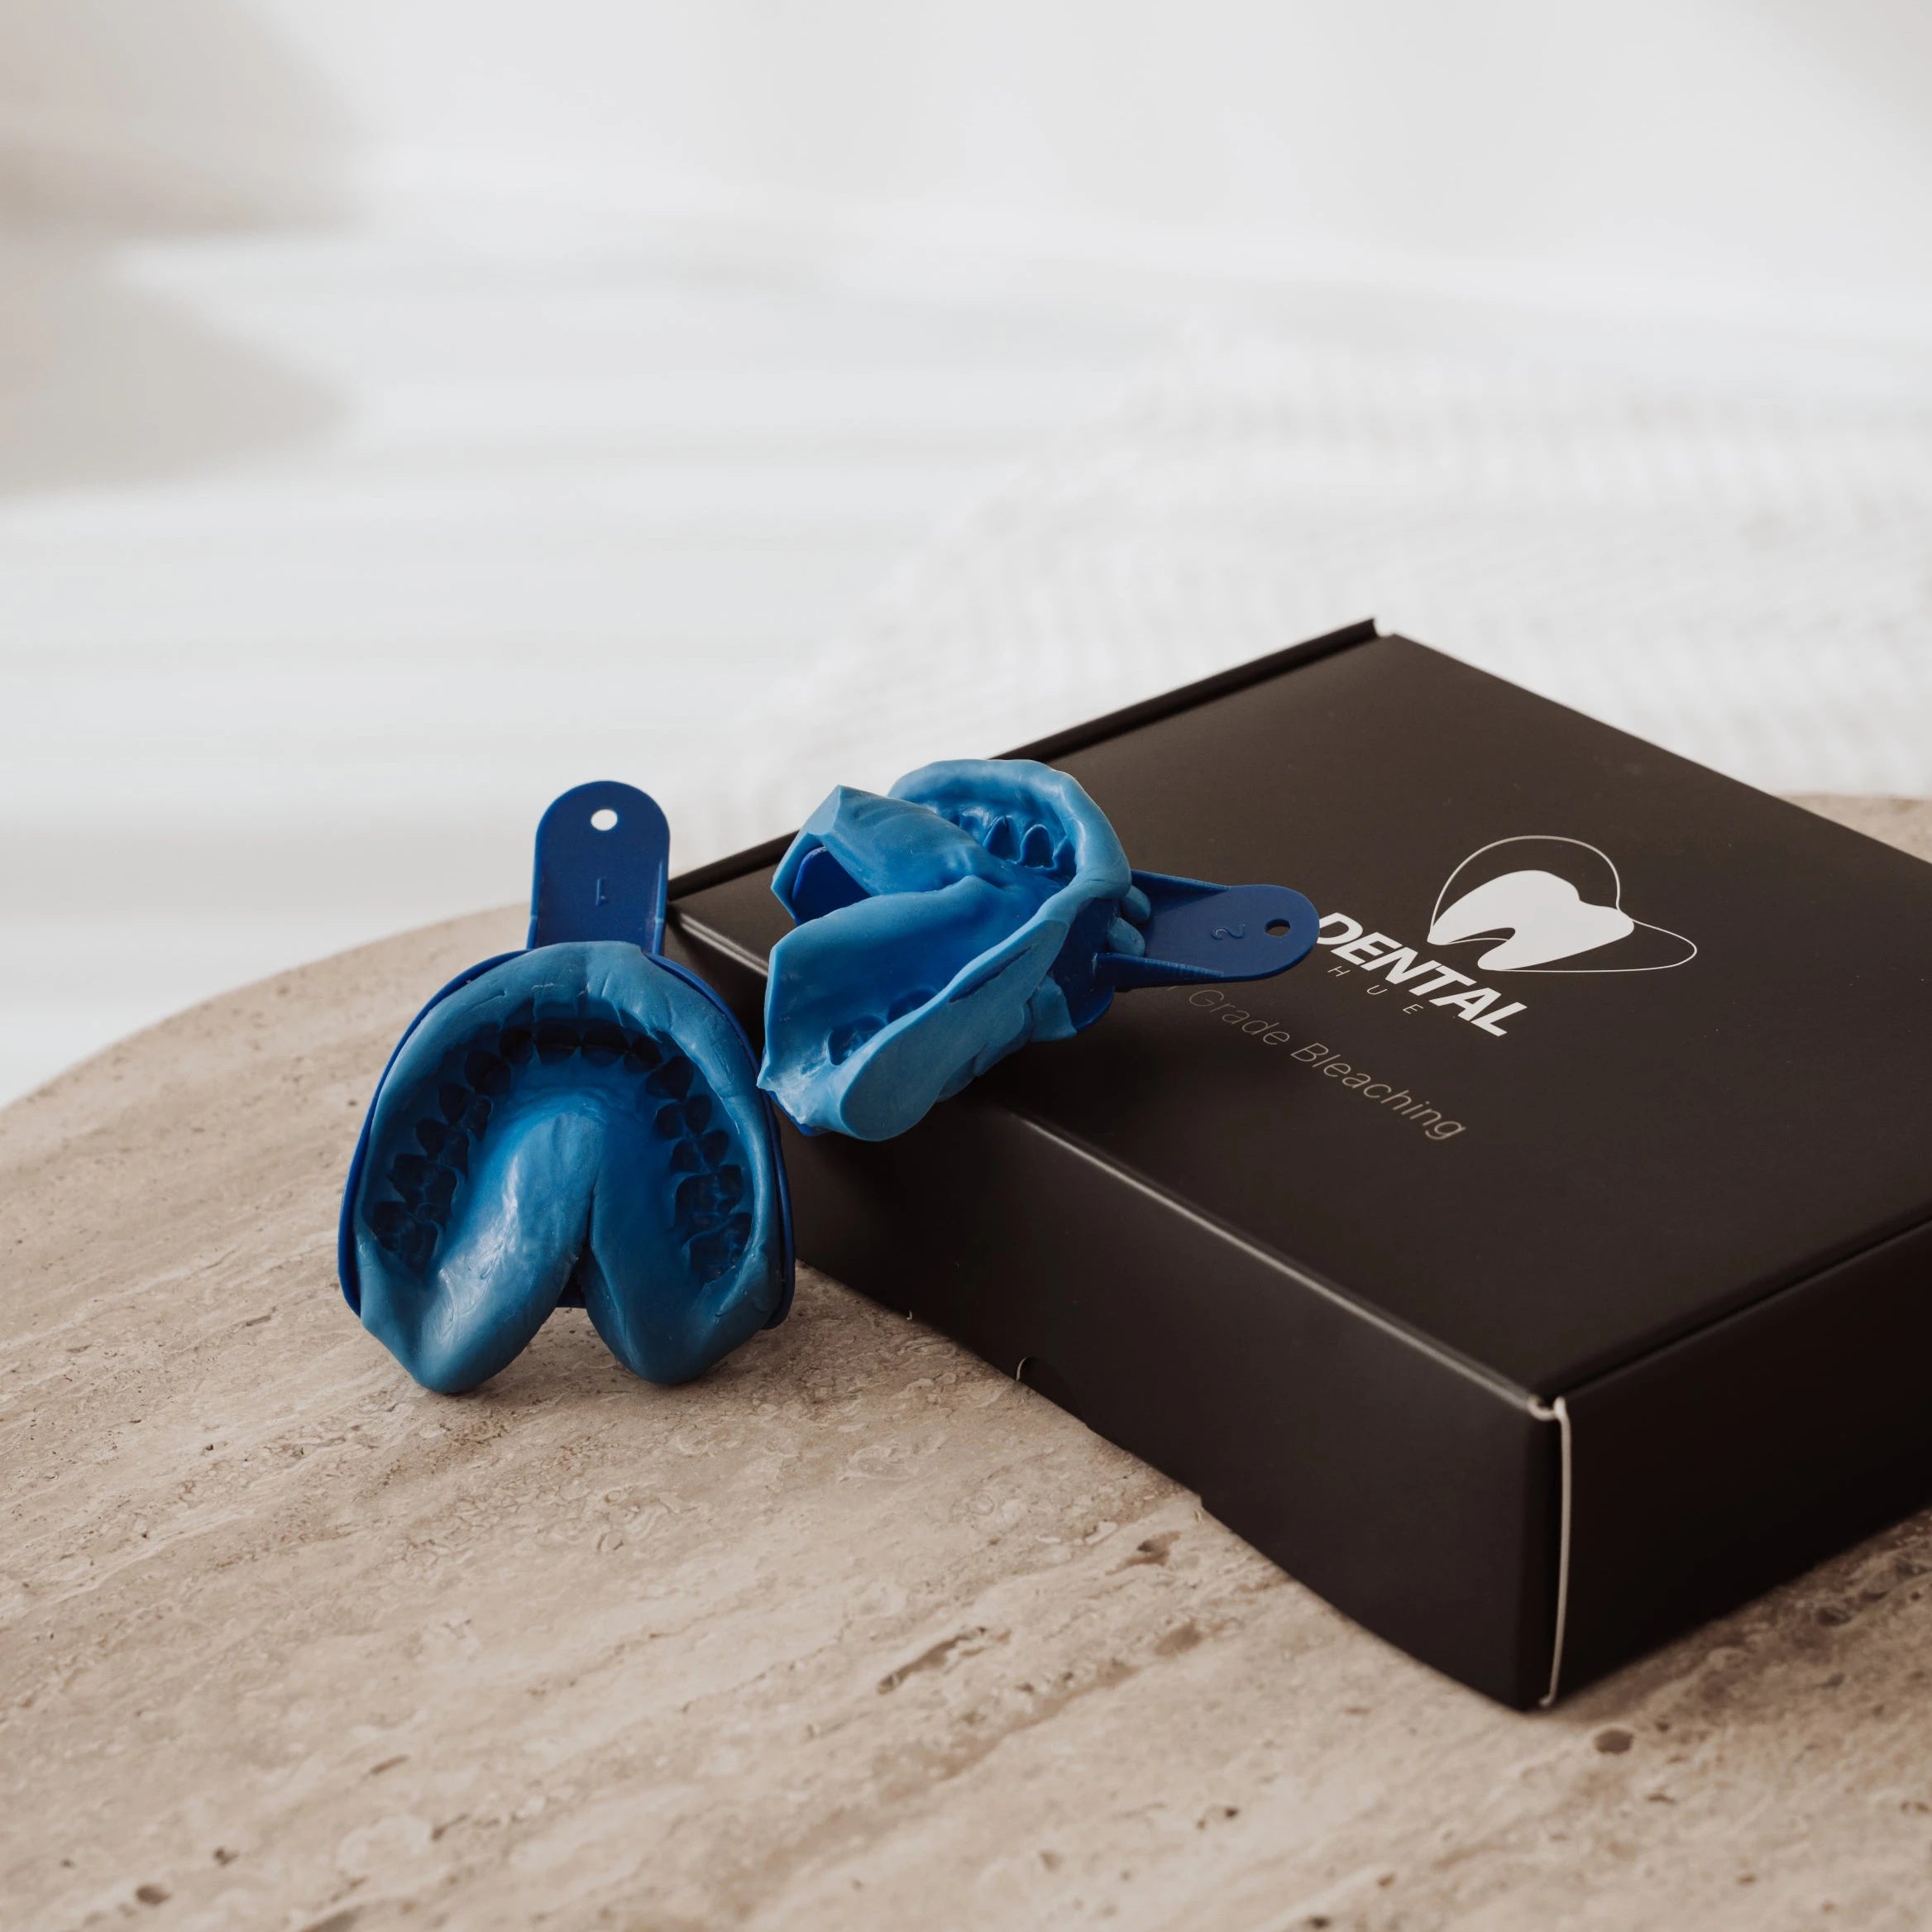
Use the DentalHue Impression Kit to make an accurate impression of your teeth by following the step-by-step instructions in the kit. Then return it so we can begin the next step in the process. Once the whitening tray is made, we will ship it to you along with the desired number of whitening syringes.
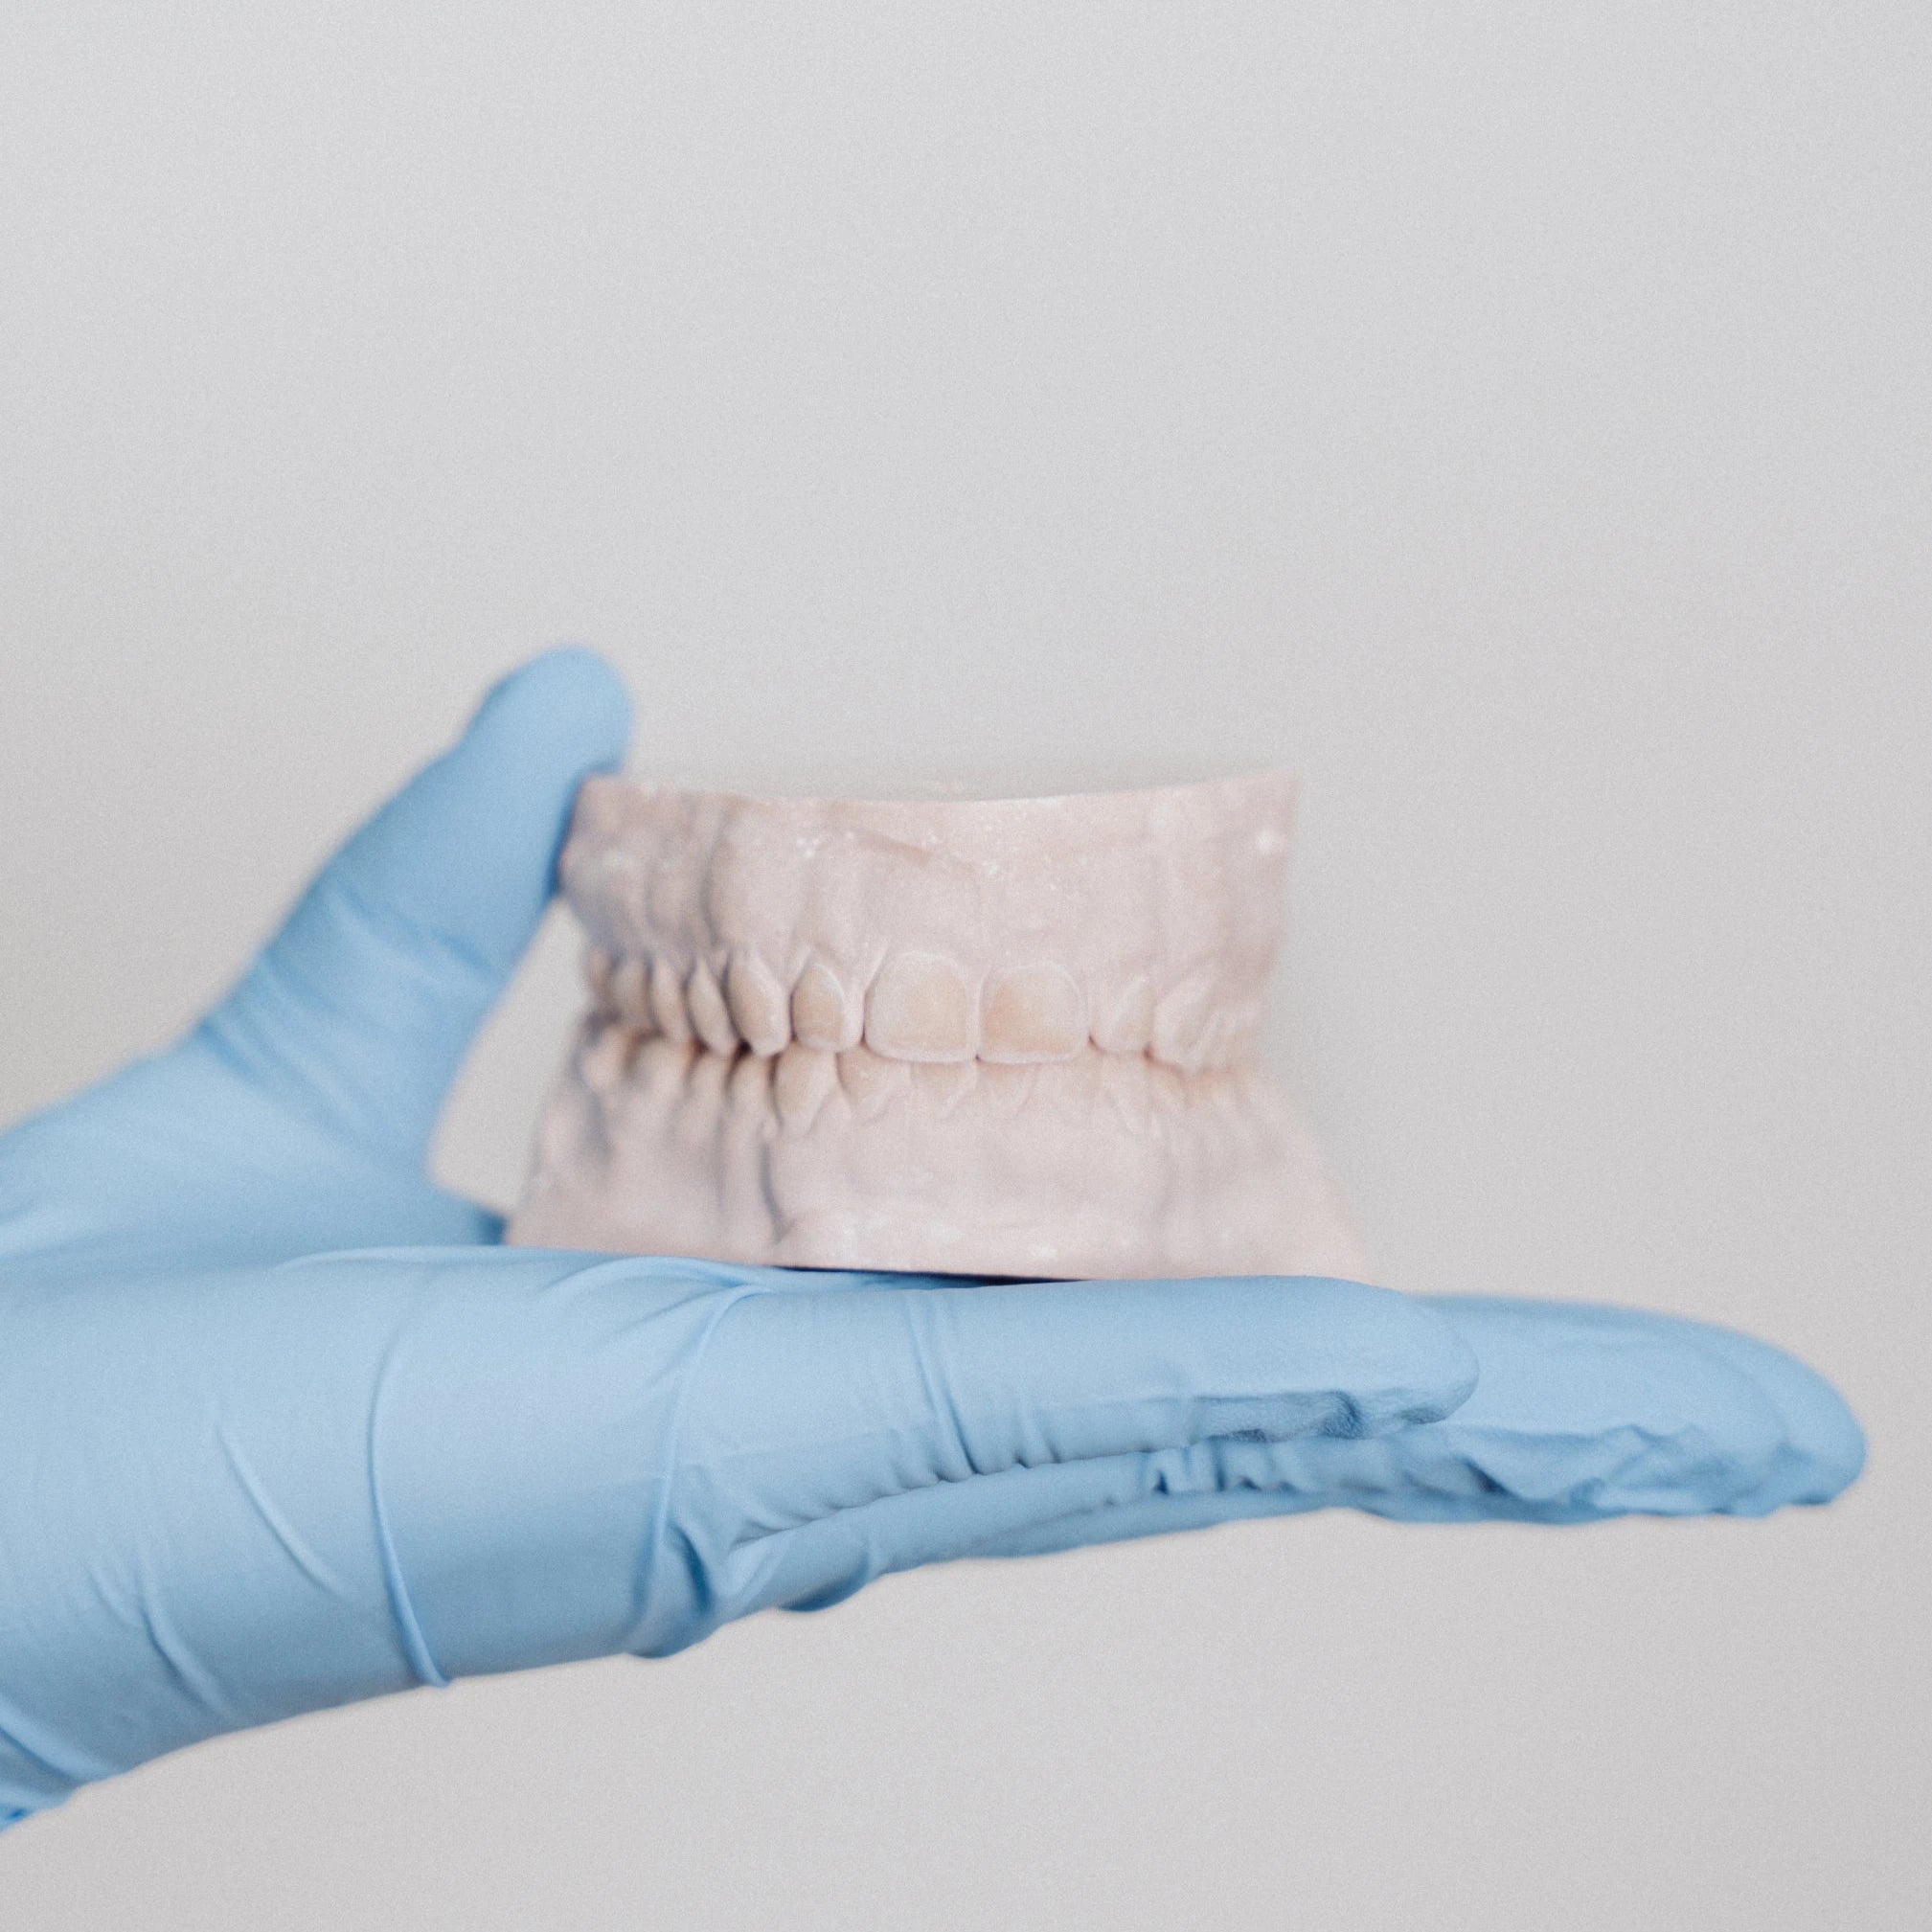
Once we receive your impression, our team will begin creating a precise plaster model of your teeth. This model allows us to design and mold a custom whitening tray specifically for you.
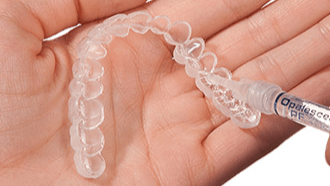
Your custom-made whitening tray will be carefully packaged and shipped to you, along with the desired number of whitening syringes. Should you need more whitening treatments later, you can always order more, so that you can give your smile the care and attention it deserves.
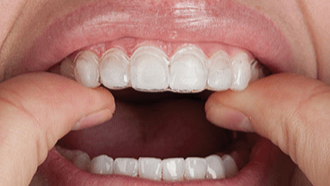
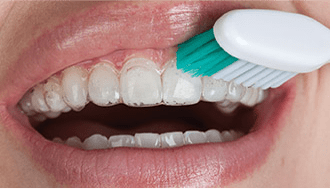
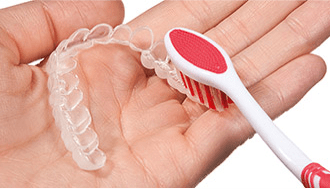
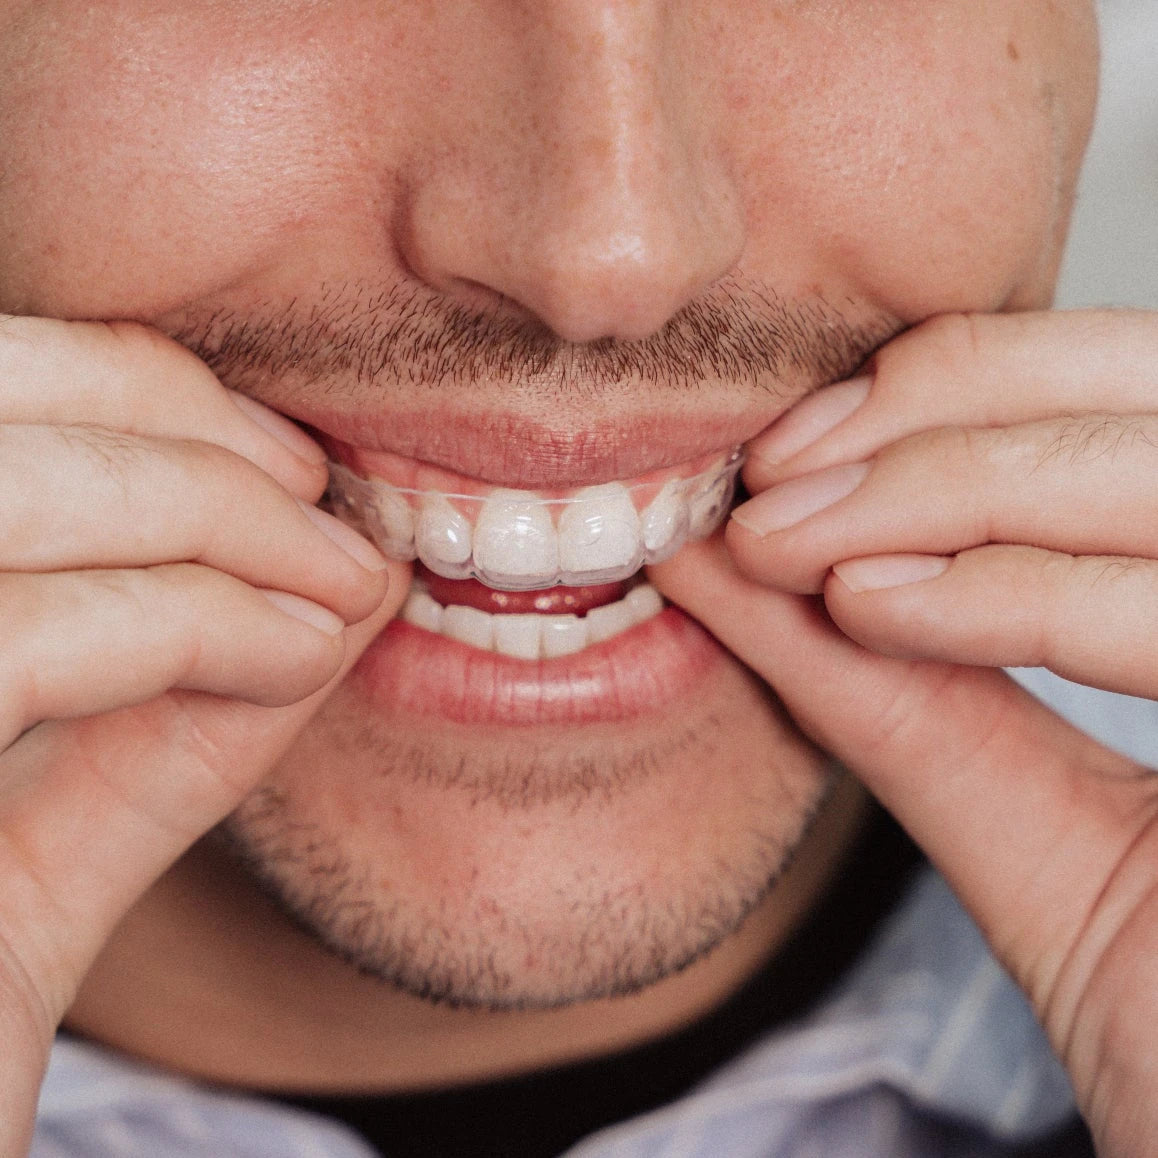
How do you use the bleaching tray?